How to Turn Steam Deck Into a Retro Game Emulator
Since the Steam Deck is essentially a gaming PC that fits in your backpack, you can use it to emulate retro titles. Here's how you do it.

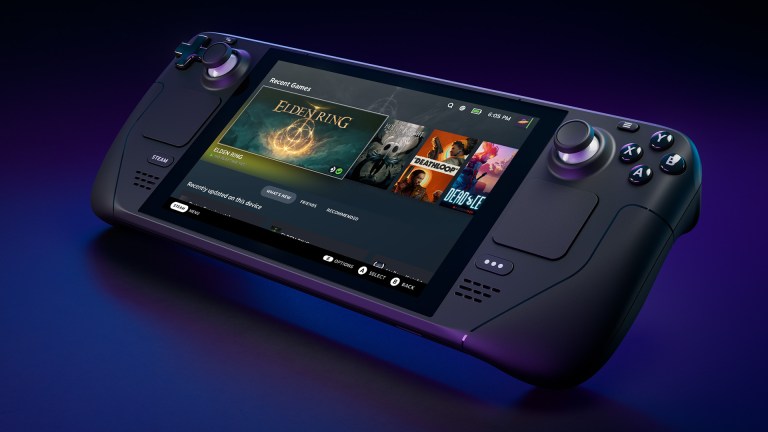
In the ongoing gaming war between consoles and PCs, computer owners have a new weapon in the form of the Steam Deck. This handheld platform combines the portability of a Nintendo Switch with the power and gaming libraries of PCs. While the Steam Deck is aimed at gamers who want to play newer titles on the go, the platform is just as capable of powering retro games.
To be fair, thanks to a resurgence of video game preservation, Steam naturally offers plenty of old titles, most of which are compatible with the Steam Deck. Those include titles like Turok 2: Seeds of Evil, Final Fantasy VII, and Shadow Man, but for every nostalgic game of yesteryear available on Steam, fifteen more aren’t. In order to play these games, you need an emulator, which is thankfully available from a variety of online sources.
Before we continue, we need to make one fact excruciatingly clear: Game emulators sit in a morally and legally gray area. The act of downloading and using emulators is completely legal, but like a Game Boy without a cartridge, emulators are worthless on their own. To use an emulator as intended, you need to also own a game ROM, which is normally illegal to own unless you ripped it from a game you purchased. Extracting a ROM is arguably harder than turning your Steam Deck into a retro emulator, but if you manage to do so, you have built a shield to protect you from legal ramifications. One final word of warning, though: there is no such thing as a flawless emulator. Your gaming experience will vary from title to title, and emulators that don’t cooperate with certain games might run others nearly perfectly. If you do encounter any problems, don’t expect any reliable customer support, especially from Valve.
How to Install a Retro Game Emulator on Steam Deck
Normally, if you want to emulate retro games, you need to decide what emulator you want. Most emulators out there only support one game platform, such as the PlayStation Portable or Sega Genesis. However, you have plenty of emulators to choose from. For instance, If you are in the mood for an NES game, NES emulators such as Mesen and Nesbox are solid solutions. No matter what you decide, though, installing an emulator is pretty much the same across the board.
To start, you need to enter the Steam Deck’s desktop mode by pressing the power button and selecting “Switch to Desktop.” Once on the desktop, you can search the internet through Steam Deck’s web browser (or install one and then use it). The most popular emulation options are Retroarch are Emudeck since unlike most emulators they support a veritable rainbow of game platform ROMs. However but Emudeck has a slight edge since it was designed specifically for Steam Deck, so we will use that as a baseline. If you would rather install a different emulator, you are free to do so.
To install the Emudeck, you should first visit the emulator’s website and download the installer as you would on any other PC — just click “Download” at the top of the screen, and then click the “download installer” button. Once the program is finished downloading, open your Steam Deck’s download folder and double-click “Emudeck Desktop” to start the installation. The installer will then run you through a few questions to get a feel for your preferences. First, it will ask if you want to use the “Easy” or “Expert” mode to install the emulator. While your gaming instincts will tell you to avoid “Easy” mode, we recommend it to make the installation as painless as possible. Next, the installer will ask where you plan to store your ROMs: internally or on an SD card. If you want to store your games on an SD card, make sure you format it before the installation. If you forgot, exit the installer and format the card before starting again.
Once you have answered the final question, assuming you selected “Easy” mode, Emudeck will complete the installation for you. Afterward, you should see a bunch of Emudeck icons on your Steam Deck’s desktop, including one for an updater and one for the Emudeck program itself. If so, congratulations, you’re almost done.
How to Install Retro Game ROMs on Steam Deck
Now that you have the Emudeck (or your preferred emulator of choice) on your Steam Deck, it’s time to populate your emulator library. As noted above, just be sure that you acquire all of your ROMs legally in order to avoid a lot of heartbreak and potential trouble.
Remember during the installation process when Emudeck asked you where you want your ROM folder? Keep that choice in mind because the installer creates a bunch of files for your ROMs in whatever area you selected. No matter what you picked, though, you need to stay in Steam Deck’s desktop.
Now it’s time to copy your ROMs into your Steam Deck. If you selected an internal folder during Emudeck’s installation, open your Steam Deck’s file manager. From the “Home” folder, scroll down to “Emulation,” and in that folder, double-click on the “roms” folder. You should see a window full of folders, each for a different game console, e.g., Amiga, Gamecube, Dreamcast, etc. If you selected an SD card, you first have to scroll down the file manager’s left bar until you reach the “Removable Devices” portion. Open the first option, “Primary,” and then you will see the “Emulation.” folder. Open that and then click on “roms.” If you open the “roms” folder, you should see a window full of folders, each for a different game console, e.g., Amiga, Gamecube, Dreamcast, etc. Now just copy the ROMs into their corresponding folders.
Once all of your games are copied, close your Steam Deck’s file manager and select “Steam Rom Manager” on the desktop. Look for the “Preview” option on the left side of the screen, which opens a new tab. Click the green “Generate app list” button near the bottom of the screen to see your emulators, as well as the games you copied into their folders. If you want, scroll through your game list and click buttons on the sides of each game icon to pick the image your Steam Deck will use for said game. Although, depending on what emulators you installed, your app list might generate duplicates of some games. To get rid of these doubles (at least on your Steam Deck list), just untoggle them on the left side of the screen.
After you’re done with your changes, click the “Save app list” button at the bottom of the screen. And that’s it. Go back to Steam Deck’s game mode, and you can find all of your emulated games under the “Non-Steam” apps tab. Just keep pressing R1 until you reach them, select the game you want, and start playing. Enjoy your new retro emulator.