Ratchet & Clank: Rift Apart Weapons and How to Unlock Them
Your guide to all the weapons in Ratchet & Clank: Rift Apart and where to find them or unlock them!

This Ratchet & Clank: Rift Apart article contains spoilers.
In addition to its Pixar-like visuals, explosive set pieces, and satirical humor, the Ratchet & Clank series is famous for letting players pull the trigger on some of the most creative weapons in all of gaming. It should come as no surprise to learn, then, that the same is also true for the latest entry, Rift Apart, which is out exclusive for the PS5 with a whopping 20 firearms for you to upgrade and enjoy.
However, with so many weapons at your disposal, you’ll definitely want to know what each gun does so you can master it as quickly as possible. It’s highly unlikely you’ll be able to upgrade all 20 in a single playthrough, so consider this guide your one-stop resource for finding out which Ratchet & Clank: Rift Apart weapons are most suited to your playstyle and which to level up first.
How weapon upgrades work
Similarly to the 2016 reboot, upgrading your weapons in Ratchet & Clank: Rift Apart requires you to visit the store and pour vast amounts of Raritarium into the designated slots. This is a resource you’ll come across plenty during your adventure. The more you level up your weapons through natural use, the more hexagonal grids you can unlock and chain together in order to access further buffs. These vary from an improved ammo clip and larger blast radius, to simply higher damage. Be sure to unlock the perks situated around any orange grids first to instantly unlock special bonuses.

Burst/Blast Pistol
The Burst Pistol is the very first gun given to you in the game, serving as Rift Apart’s version of the reliable pistol with a high fire rate that’s become customary in most Ratchet & Clank installments. It’s about as basic a gun as you’ll use in this adventure, but is a good one to fall back on in the later hours when ammo becomes increasingly scarce and you want to deal tiny amounts of damage quickly. Upon reaching level 5, it becomes the Blast Pistol and fires plasma shots in a three-burst spread.
Planet it becomes available: Corson V
Good for: Hitting enemies from far away and landing lots of rounds quickly.
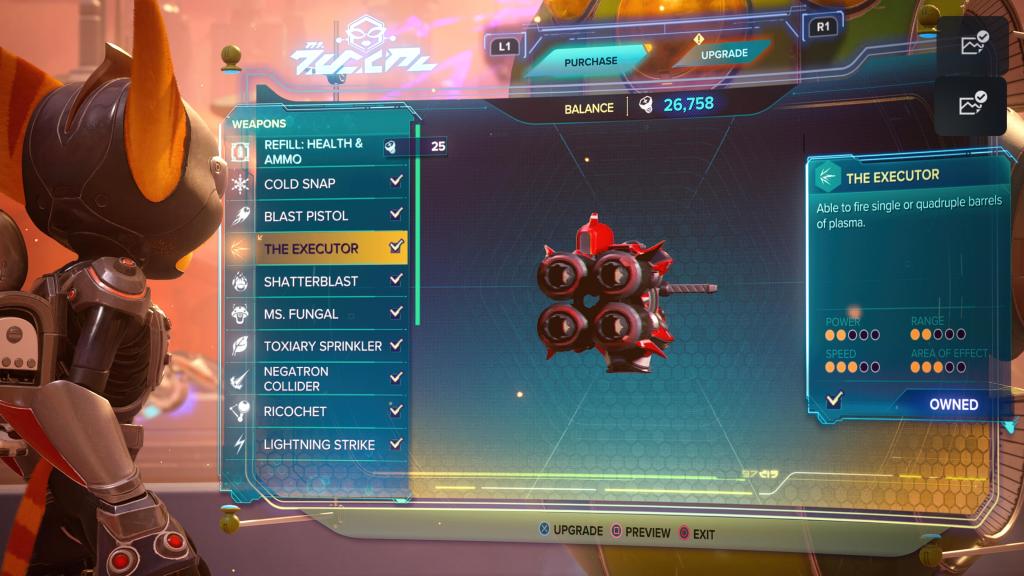
The Enforcer/Executor
The Enforcer is the closest thing to a shotgun you’ll find, letting you fire off one shot when the R2 trigger is pulled down halfway or firing two in quick succession with a full squeeze. Having two barrels makes it a great way to deal a lot of damage to anyone trying to invade your personal space early on in the game, helping to give you more room and keep enemies at a good distance. It graduates to the Executor at level 5 and lets you fire a quadruple barrel instead of double.
Planet it becomes available: Corson V
Good for: Dispersing tightly-packed groups of enemies and giving you breathing room
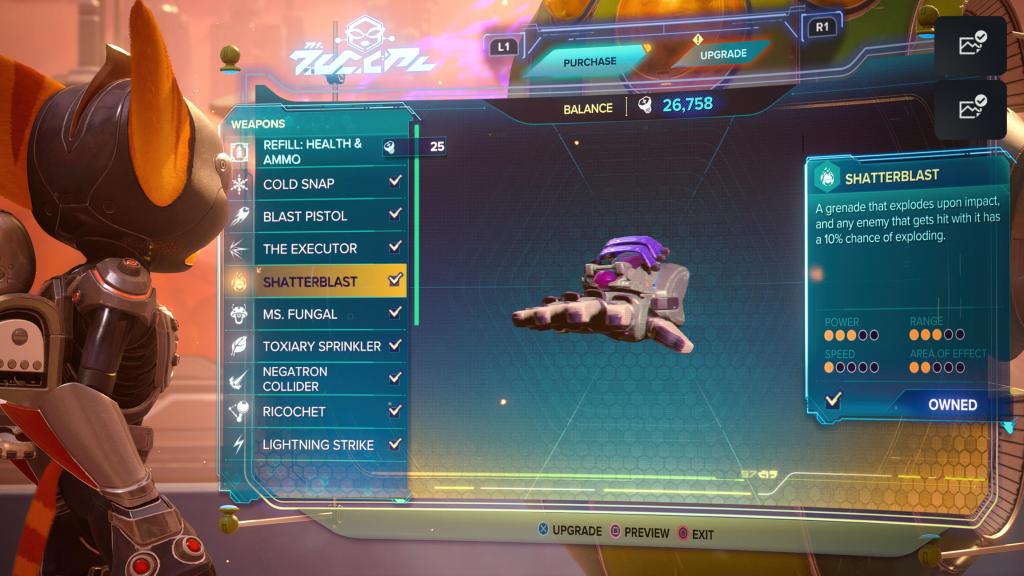
Shatterbomb/Shatterblast
It wouldn’t be a Ratchet & Clank game if you didn’t have some form of bomb glove. Here it’s known simply as the Shatterbomb, and is ideal for creating a wide spread of damage amongst small groups of enemies, or helping you trim down the health bar of any bigger fellows. Pulling the R2 trigger down halfway sets the throwing arc, helping you to better aim where the grenade will land when deployed. Upgrade it fully to level 5 and any grenade thrown will explode on impact.
Planet it becomes available: Corson V
Good for: Targeting a specific area and causing a wide blast radius of damage

Mr. Fungi/Ms. Fungal
You won’t find Mr. Zurkon in your weapon wheel this time around, making way for an all-new attack buddy called Mr. Fungi. As his name suggests, he’s more than happy to have a blast firing at enemies you can’t get to, or provide fire support while you focus elsewhere. The good thing is that you can throw up to five Mr. Fungis out at once for assistance without any disappearing. This goes double for when you upgrade him all the way to level 5, wherein each Mr. Fungi is joined by his wife Ms. Fungal.
Planet it becomes available: Nefarious City
Good for: Providing extra firepower while you focus on more immediate threats.

Negatron Collider/Large Negatron Collider
The Negatron Collider is just as badass as it sounds for the most part, unleashing a single beam of charged energy capable of passing through multiple enemies at once. That charge doesn’t last forever, though, and you’ll often be forced to switch to a backup weapon because its clip size isn’t especially large to begin with. However, it’s the perfect choice of gun when stacks enemies are lined up before you. It’s promoted to the Large Negatron Collider at level 5, triggering a huge explosion after the charge shot is finished.
Planet it becomes available: Nefarious City
Good for: Instantly wiping out enemies any time they form a single line in front of you.
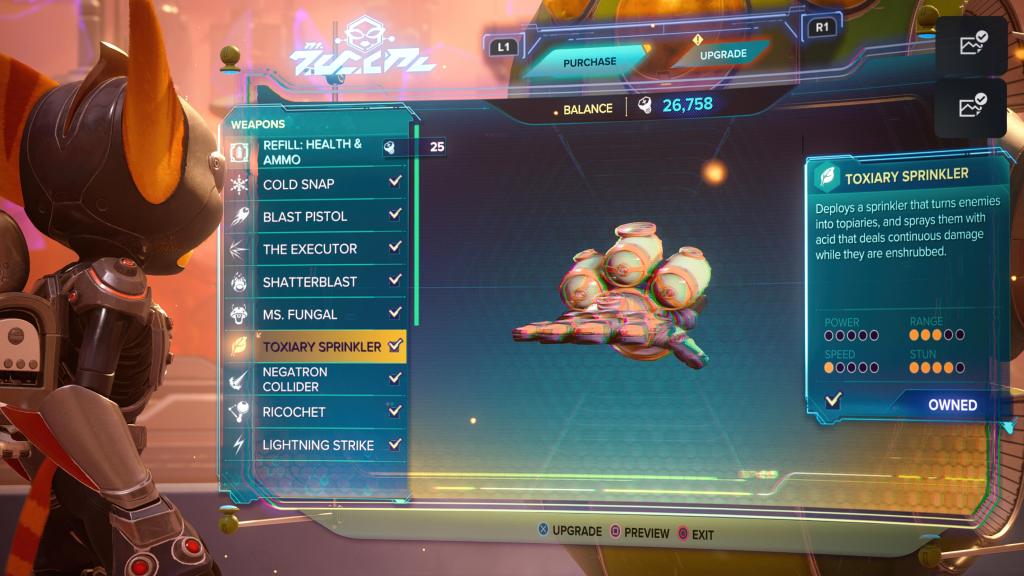
Topiary/Toxiary Sprinkler
Through not quite as fun a gadget as the Groovitron from Ratchet & Clank (2016), the Topiary Sprinkler essentially does the same job. Simply launch one of these within the radius of a large enemy group and they’ll instantly be sprayed with water that transforms them into topiaries. This freezes them in place for a short while and lets you get in a lot of shots without much risk. Amazingly, it even works on bosses.
Planet it becomes available: Sargasso
Good for: Temporarily locking enemies in one place to keep the pressure off.
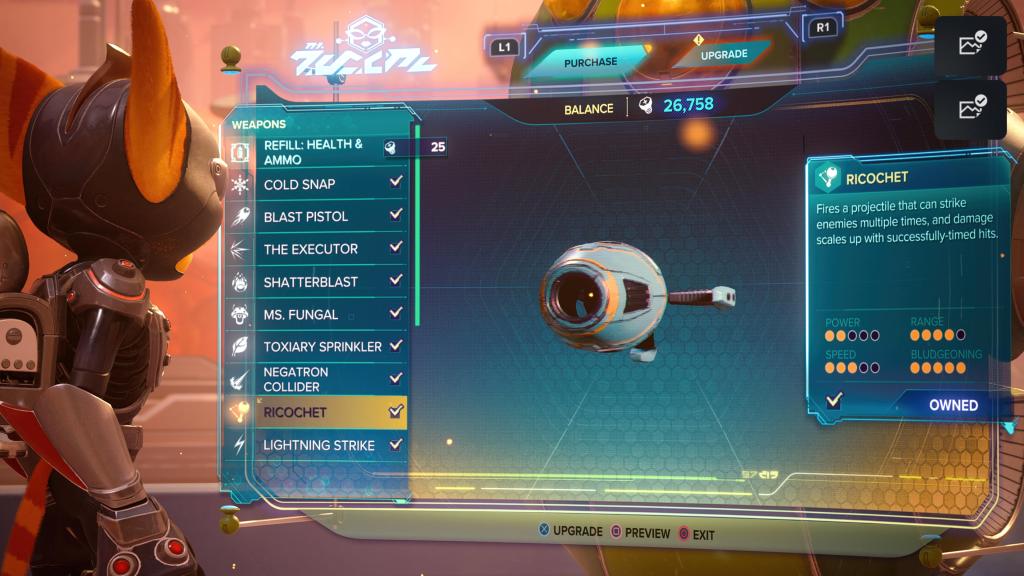
Ricochet/Wreckochet
One of the most inventive weapons to appear in Ratchet & Clank: Rift Apart is the aptly titled Richochet, which lets you launch a giant metal ball into the air and repeatedly hit any targeted enemy over and over again with just a few squeezes of R2. This is especially handy whenever far-off enemies are sniping you and you want to halt their attacks, but is also equally perfect for demolishing smaller groups in a short amount of time.
Planet it becomes available: Sargasso
Good for: Interrupting enemy attacks to give you some breathing room.
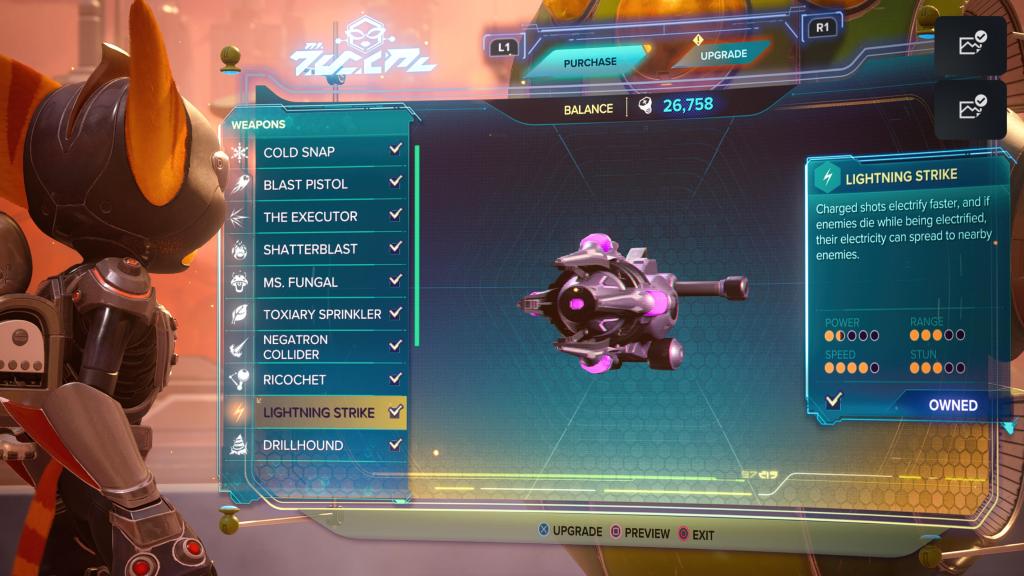
Lightning Rod/Strike
It must be an unspoken rule in video games that any weapon based around lightning or electricity must not only stun one enemy, but also chain strike any and all others standing near them. That’s essentially how the Lightning Rod pistol operates, too. It’s another weapon that stuns enemies in place temporarily after firing, giving you a chance to maneuver when it gets too crowded. At level 5, the Lightning Rod will see electric needles jump to other enemies upon death.
Planet it becomes available: Scarstu Debris Field
Good for: Simultaneously stunning multiple enemies in place and covering a lot of ground.
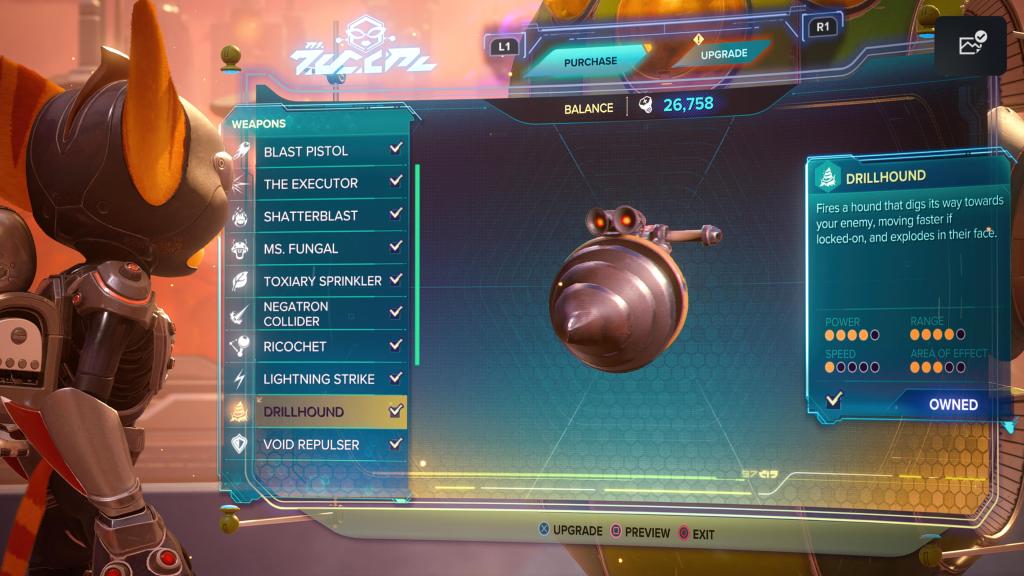
Drillhound/Drillpack
The Drillhound is exactly as bonkers at sounds, but that’s what makes it great. This is essentially a spin on a missile launcher, only instead of directly launching rockets at enemies it shoots out a hound that digs its way over to enemies and blows up in their faces. Each round moves a lot quicker when you lock on to somebody via L2, greatly reducing the risk of your shots being intercepted. If you want to land a lot of shots fast and from far away, the Drillhound is your weapon.
Planet it becomes available: Scarstu Debris Field
Good for: Catching unsuspecting enemies off guard and safely unleashing a lot of high-damage shots.
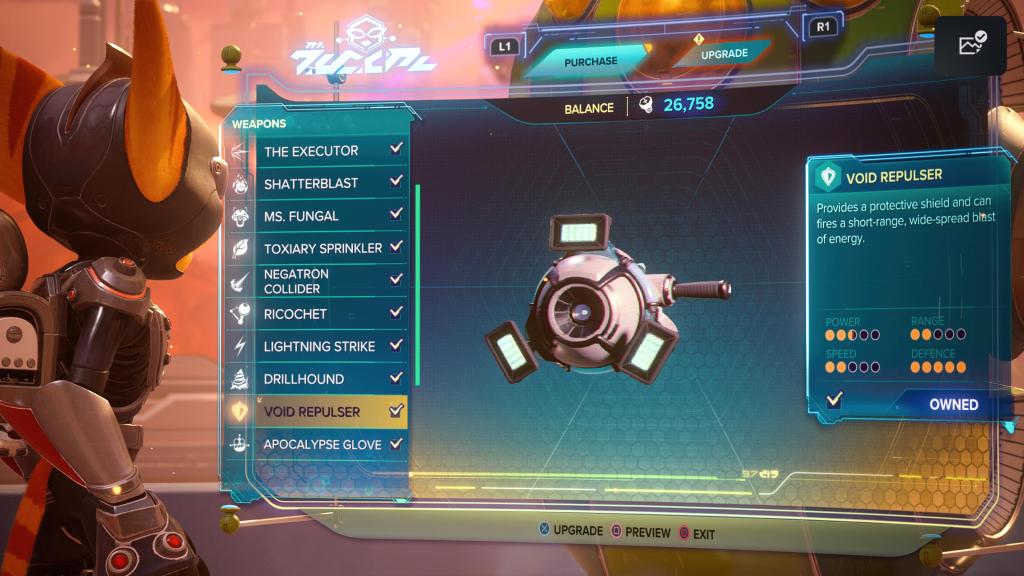
Droid/Void Repulsor
Why equip a shield or a gun when you can have both? That’s essentially the thinking behind the Droid Repulsor, which is great for deflecting enemy fire, as it pops up a protective shield whenever you hold down L2 or squeeze R2 halfway. This makes the Droid Repulsor ideal for absorbing any incoming damage, letting you get up close and personal before delivering a sudden and effective wide-spread blast. When promoted to the Void Reactor at level 5, it lets you shoot back enemy fire.
Planet it becomes available: Savali
Good for: Offering a lot of defense against enemy fire so you can unleash up-close blasts.
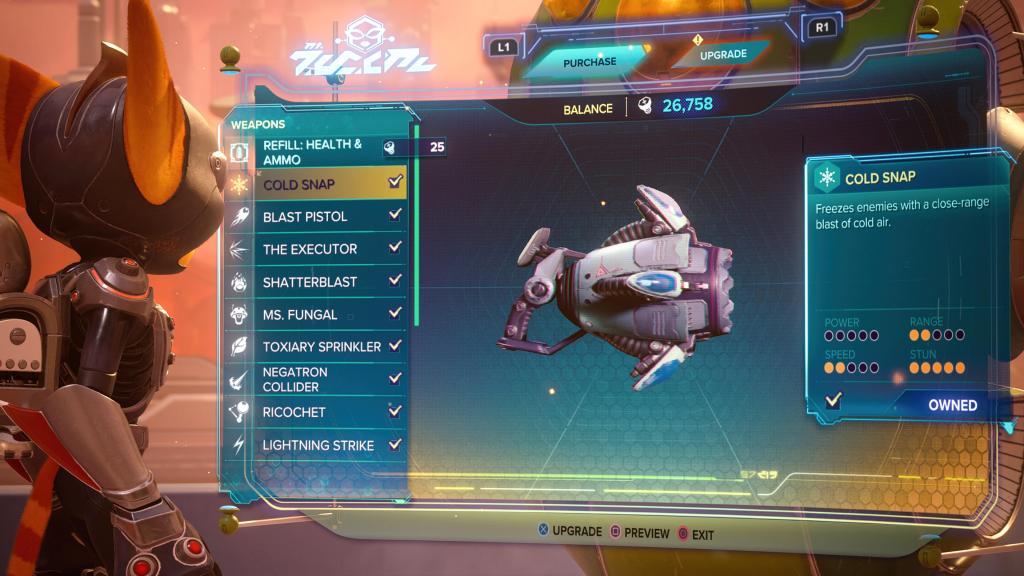
Cold Snap
A single blast from the Cold Snap gun is all it takes to immediately freeze enemies in place. It performs similarly to the Topiary Sprinkler you acquire a bit earlier, except it specifically allows you to target single enemies rather than having you send a shot out and hope for the best. This more focused approach is often more effective and is perfect for follow-up melee hits.
Planet it becomes available: Cordelion
Good for: Incapacitating enemies in place and having them slide over surfaces.
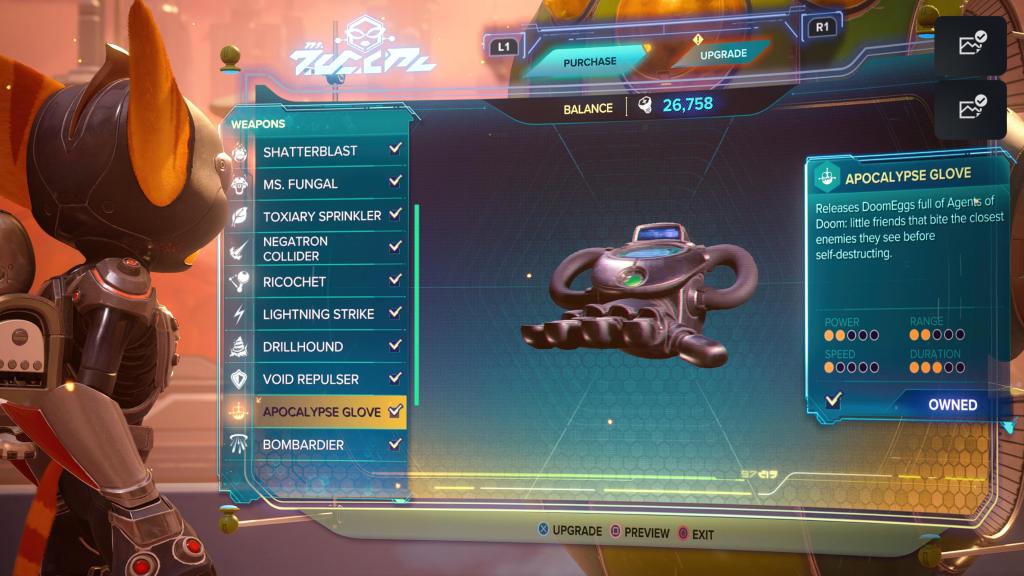
Glove of Doom/Apocalypse Glove
The Glove of Doom quite literally lets you deploy many agents of chaos. Rounds might be scarce, even after being fully upgraded, true, but these miniaturized war bots can pack a solid punch whenever they’re sent to assault nearby adversaries. They’ll even accompany you for a short while until the next surprise attack surfaces, distracting smaller foes and giving you room to breathe as you attack with your other weapons. It graduates to the Apocalypse Glove at level 5.
Planet it becomes available: Cordelion
Good for: Distracting and attacking enemies while you reload, retreat, or seek health.

Buzz Blades/Doom Blades
Whereas most pistol types in Ratchet & Clank require direct lock-on to be effective, the Buzz Blades are better suited to more relaxed players who simply want to aim in the general direction of opponents and connect with their targets. The result is a gun that isn’t as precise as, say, Lighting Rod or the Burst Pistol, but slicing up bots using masses of blades in a swarm has its bonuses. Fully upgrade it to level 5 and the Buzz Blades will bounce off enemies and ricochet off the environment.
Planet it becomes available: Torren IV
Good for: Dealing a minimal amount of enemy damage at a fast rate, and firing without aiming.

Warmonger/Peacemaker
If you want to do a lot of damage with a single pull of R2, look no further than the Warmonger. This is a missile rocket launcher without many bells and whistles, true, but it doesn’t really need them when you consider it delivers a satisfying wallop to almost every type of enemy, including mini-bosses. Things get more adventurous when you upgrade to level 5 and it becomes the Peacemaker, with each rocket launched releasing a series of micro-rockets as soon as it hits its target.
Planet it becomes available: Scarstu Debris Field (Second Time)
Good for: Giving foes an explosive thump from far away.
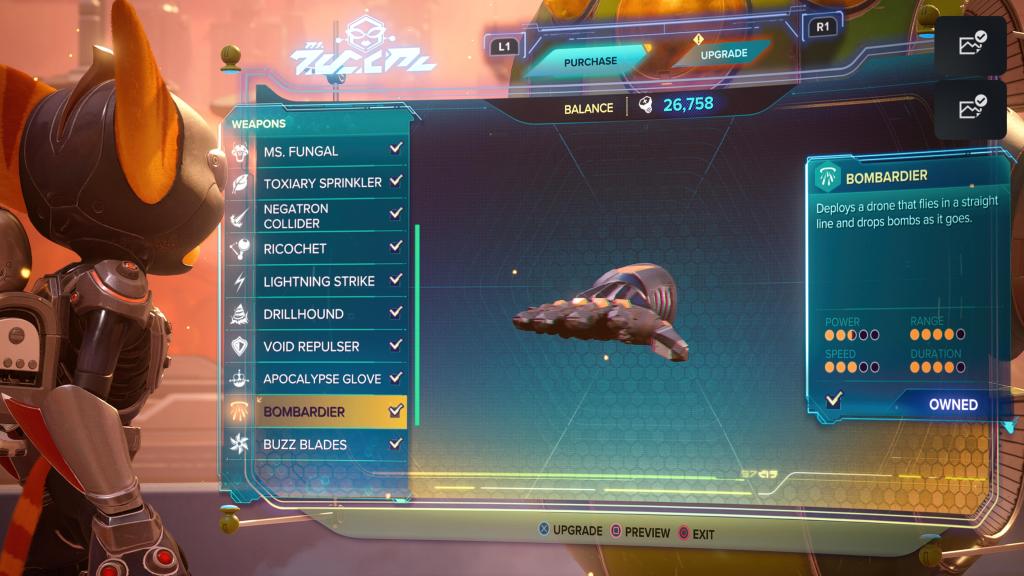
Bombardier
When one bomb isn’t enough, you can always rely on the Bombardier. Why? Because rather than let you throw a single grenade one at a time, when fired, this device launches a drone that will fly overhead to release a stream of bombs dropping in a row. Using it most effectively requires precision and timing – two things that aren’t always possible in a heated Ratchet & Clank firefight. However, the Bombardier can still be great for crowd control.
Planet it becomes available: Scarstu Debris Field (Second Time)
Good for: Reigning explosive death over your enemies from above, provided they’re in a straight line.
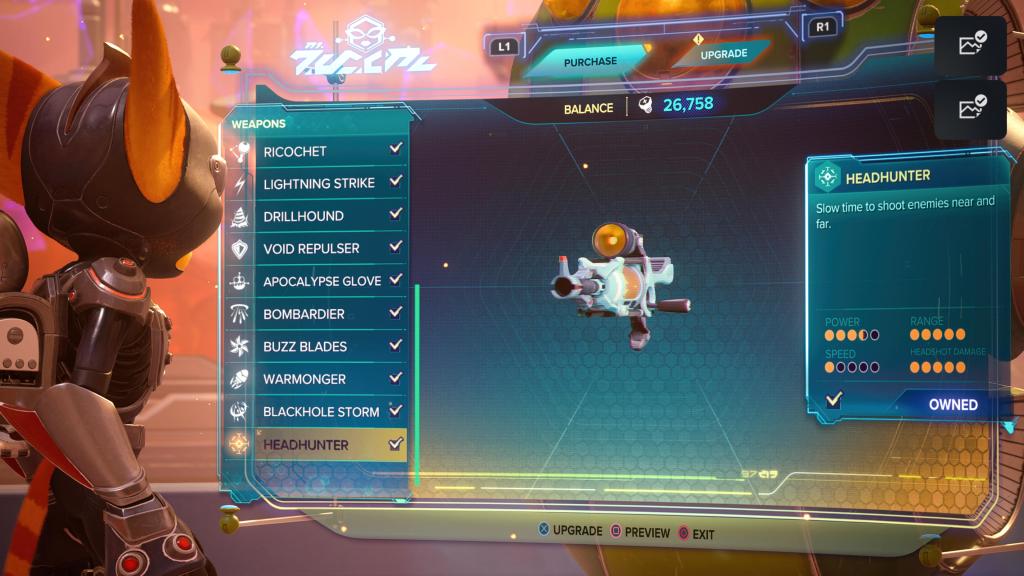
Headhunter
The Headhunter acts as Rift Apart’s version of a sniper rifle, letting you dispatch far-away adversaries from a first-person view when aiming. The catch is that it has a pretty slow fire rate compared to some other rifles in the game. Having said that, upgrading the Headhunter to level 5 is a worthy endeavor, seeing as it can then also slow time.
Planet it becomes available: Ardolis
Good for: Picking off foes from afar and popping precise head shots.

Blackhole Storm
The Blackhole Storm is capable of unleashing a tirade of rounds at any enemy you point it towards at an incredibly rapid pace. This does mean it will easily overheat over time if you don’t ease off the trigger every once in a while, but it’s a worthy trade-off considering how effective it is at keeping the waves of enemies at bay. Just bear in mind that the Blackhole Storm also takes its time to spin up in comparison to other weapons.
Planet it becomes available: Sargasso (Second Time)
Good for: Piling on the damage rapidly within a very brief space of time.
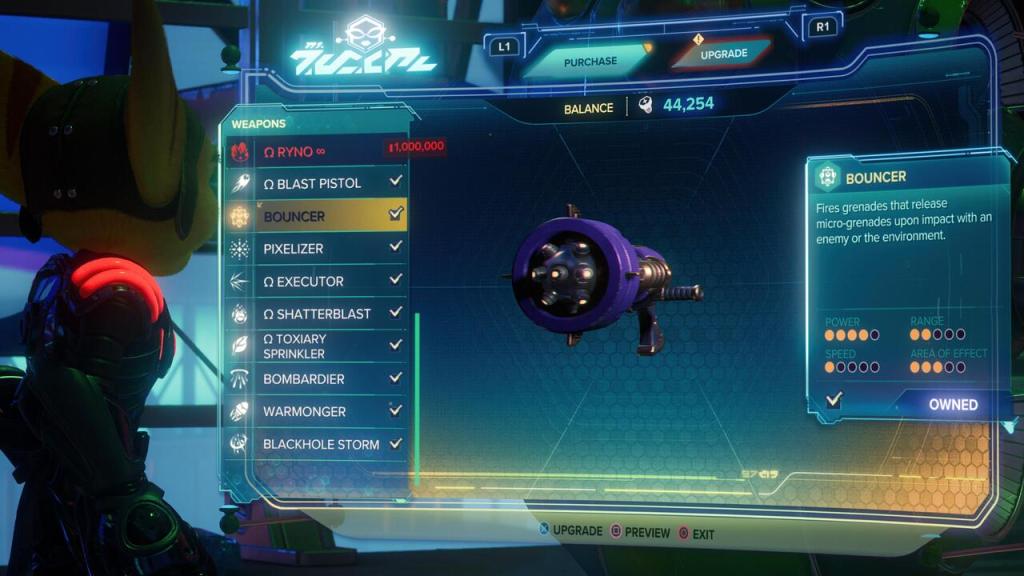
Bouncer
Despite being a Challenge Mode weapon that’s not unlocked until you’ve beaten the game, the Bouncer is a remarkably standard gun. It’s kind of like a grenade launcher that fires projectiles that then break off into smaller explosives. While not the most exciting gun in the game, it is remarkably effective.
Planet it becomes available: Challenge Mode unlock/Deluxe Edition unlock
Good for: AoE damage and dealing with large groups of small enemies.
Pixelizer
Here’s another Challenge Mode weapon that proves to be surprisingly standard from a sheer functionality standpoint. The Pixelizer is pretty much a shotgun that just so happens to turn its victims into pixels. It’s actually a lot of fun to use even if it’s not the best weapon in the game.
Planet it becomes available: Challenge Mode unlock/Deluxe Edition unlock
Good for: Enjoying retro visuals/sound effects while dealing respectable close-range damage.
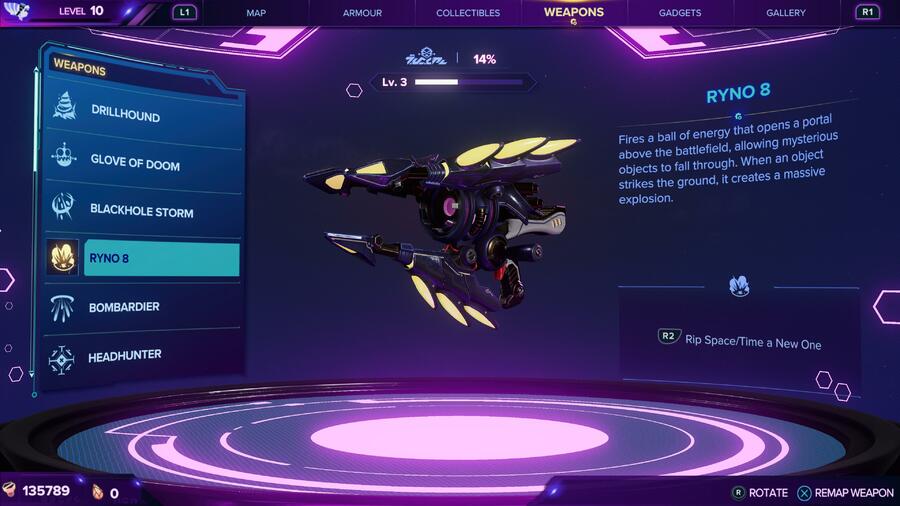
Ryno 8
Tapping into Rift Apart’s themes of time displacement and dimension splitting, the Ryno 8 is your reward for collecting all 10 Spybots hidden across the various planets. It’s effectively a built-in easter egg machine that pays tribute to PlayStation history, opening up rifts and dropping various bits of memorabilia out of the sky to create a large explosion. Objects include the Thunder Jaw from Horizon Zero Dawn, among many others.
Planet it becomes available: N/A
Good for: Covering a wide blast radius and taking down small groups of enemies instantly.